LANCE BURNER
LANCE BURNER
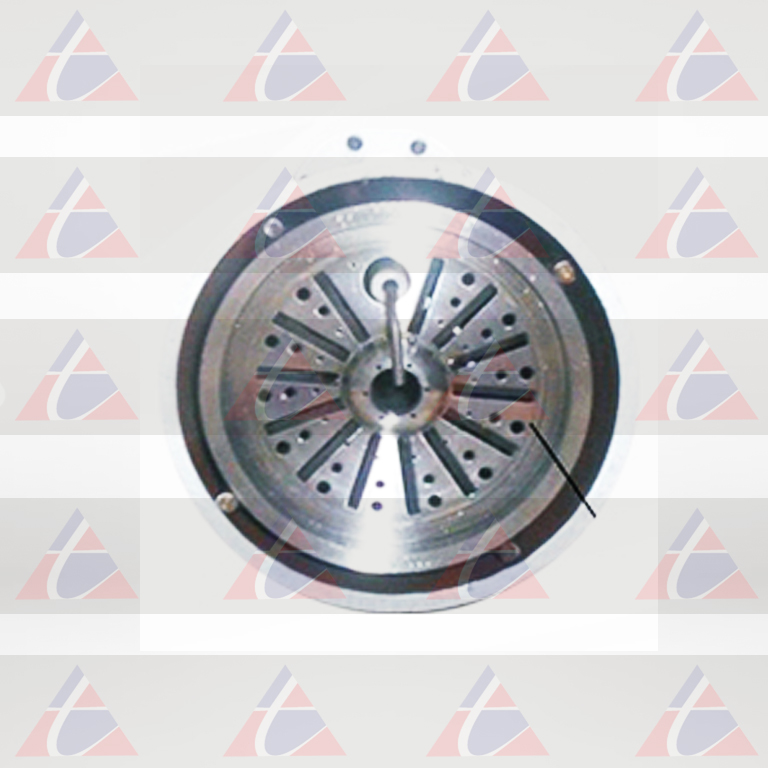
The ‘Kiln’ Burner is supplied as a complete assembly. Refractory Lining is to be separately done by the customer depending on the temperature of use.
A. INSTALLING THE BURNER
The Burner can be mounted on a trolley arrangement or on a flange fitted on the kiln shell with the help of four bolts.
The burner is properly lined with castable all along the primary tube throughout its insertion length and should be properly aligned for achieving better flame. Castable Lining Burner Positioning along the kiln Ensure that he burner castable lining is not cracked, while fitting. Enough care should be taken to avoid any cracking of Burner lining. Any minor breakage or crack would result in failure of the burner.
B. AIR CONNECTION
Ensure that corrects pressure of air is available near the burner for getting the desired oil firing rate. For gas the air pressure varies from 600 mm to 800 mm. The pressure drop between blower and furthest burner should not exceed 50 mm water gauge. There should be a minimum number of bends, elbows and valves in the pipeline to ensure that he pressure drop is kept at the lowest. No elbow or bend should be placed within four pipe diameters distance from the burner inlet in order to ensure that the air enters the burner without any turbulence. The branch lines giving connection to the burner should be one size larger than the burner inlet and finally reducing it near the burner. Each burner should be fitted with butterfly valve to have separate control of air supply.
C. FUEL CONNECTION
The size of the pipeline from the fuel line should be of adequate size to avoid pressure drop and reduce it to be burner inlet size near the burner. Since the burner is using fuel as the main fuel a regulator is provided at the entry of the gas to the burner for adjustment of the burner flame.
D. OPERATION
Starting of a new burner
- Before lighting up the burner, the burner castable should be cured and is to be heated by open flame, such as, kerosene soaked cloth introduced the air opening of the burner. The preheating of burner castable should be continued for 10-15 minutes.
- Start the fuel line and ignite the burner with the hep of spark ignition plug/pilot burner.
- Start the blower and allow air to pass through the burner.
- After starting air supply to the burners, open the fuel valve very steadily and slowly to the minimum desired level until a steady flame is achieved.
- Allow the combustion to continue at the minimum level for about 5-10 minutes and then slightly increase the flow of gas to be desired level, keeping the supply of air full open.
SHUT DOWN OF THE BURNER
- Close the gas valve and shut up oil supply to the burner.
E. BURNER CLEANING
- Remove the primary air connection
- Open the fuel connection assembly.
- Take out the fuel lance assembly consisting of fuel tube, nozzle and the connector.
- Dismantle the combustion air line by removing the flange
- The fuel tube, outer tube, air swirler along with nozzle should be kept immersed in kerosene for about 15 minutes.
- Clean all these components with the help of soft cloth and remove all the carbon deposits
- Re-assemble the fuel gun assembly.
- Ensure that Teflon tape is provided at the threads to avoid any leakage and asbestos gaskets at flanges.
- Fix the fuel gun assembly in the burner and tighten the bolts. Check that gaskets are not damaged. Change the gasket if required.
- Reconnect the primary air hose and the fuel Valve assembly. Ensure that the Valve is cleaned by flushing with kerosene before it is fitted.